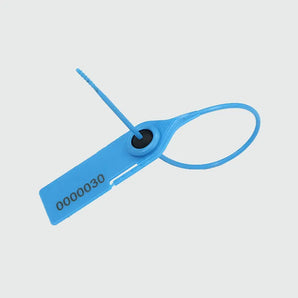
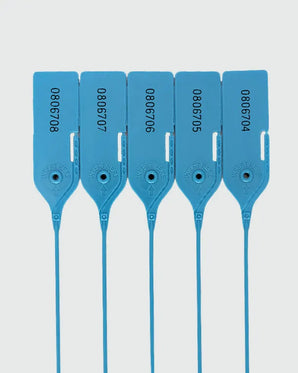
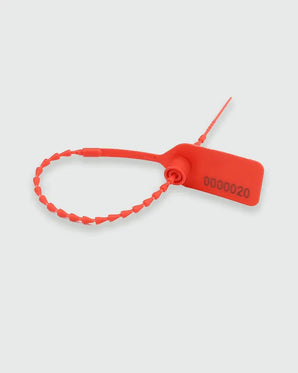
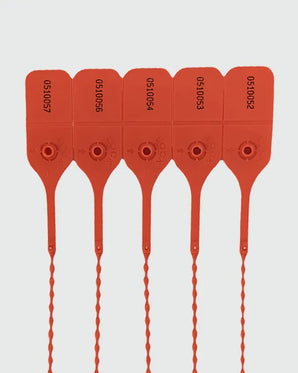
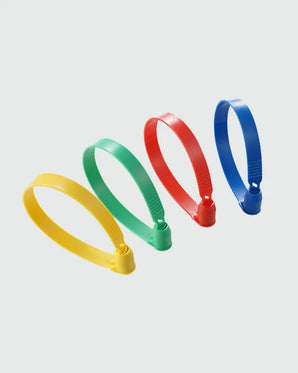
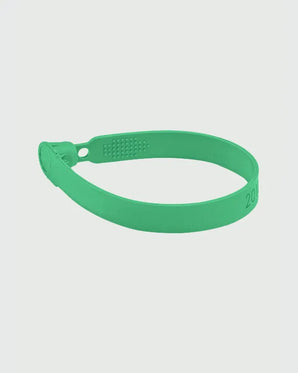
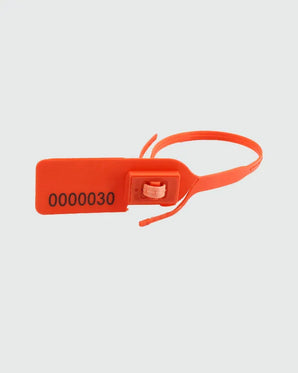
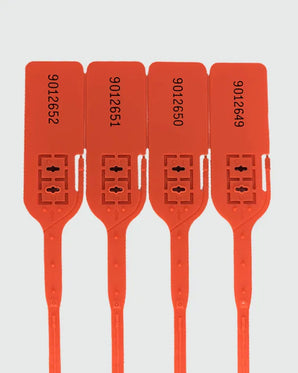
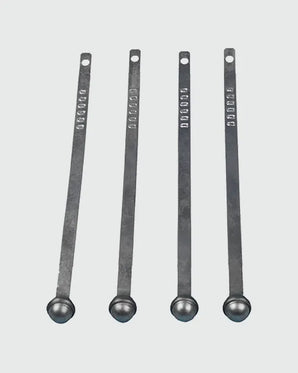
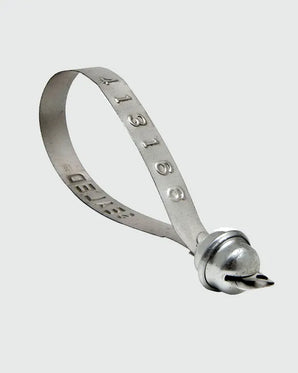
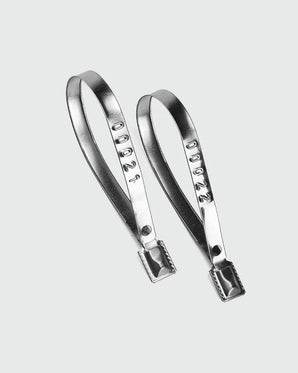
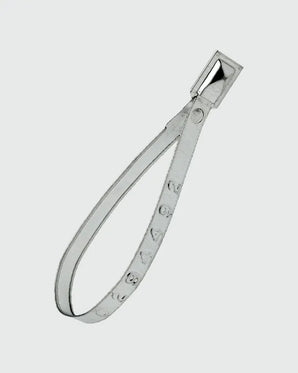
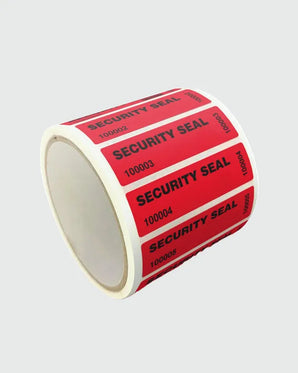
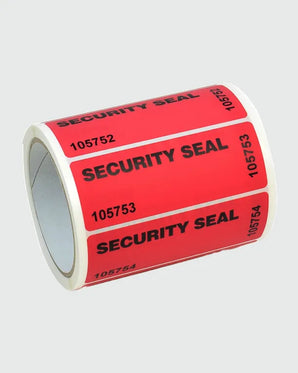
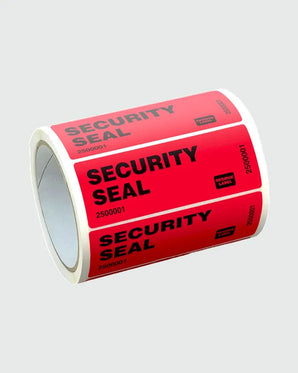
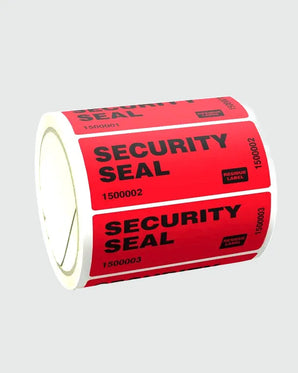
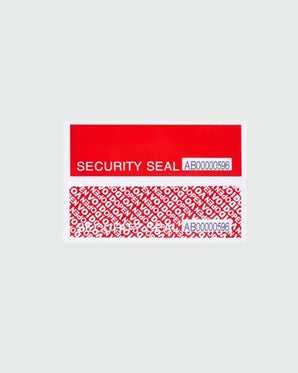
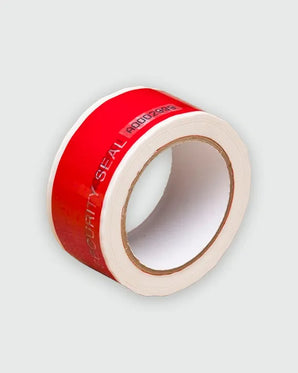
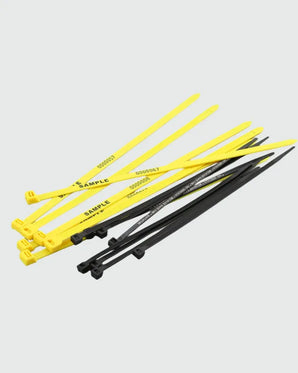





Place tamper proof stickers across the exact point where someone would have to lift, unscrew, slide or separate the housing to get inside. If the label does not interrupt that opening path, the device may still open with the sticker intact. Tamper proof stickers usually work as tamper-evident labels that show a clear sign when someone lifts, removes or breaks them. For IT managers, repair centres and facilities staff, that means slower checks and more uncertainty during routine inspections.
When you use tamper proof stickers on devices, place them:
- Over screw heads that staff should leave untouched
- Across casing joins and seams where the housing opens
- Across access panels and removable covers
- Across service doors or port covers that need to show a clear sign of entry
At JW Products, we supply tamper-evident labels that can be matched to the screw, seam, access panel or cover you need to secure.
What makes a good tamper proof sticker placement on a device?
A good placement forces the sticker to break, lift or reveal a clear message when someone opens the device. If the label misses the opening path, the housing may still open with the sticker left untouched.
Staff should be able to read the label position immediately. If they have to handle the device just to work out whether the sticker has moved, the placement is too weak for a reliable check.
Should tamper proof stickers go over screws, seams or access panels?
In most cases, start with the points where the device actually opens. Screw heads, casing joins and access panels usually tell you more than a flat outer surface ever will.
Use tamper proof stickers or tamper evident warranty stickers over screw heads when staff should not move those screws between checks or service visits. This works best on devices where one or two visible fixings open the casing. It matters most on units where one screw gives direct access to the housing or internal settings.
Run the label across seams and casing joins when the housing separates into two parts. A label that bridges the join gives you a clear sign if someone has tried to split the casing. A seam label works best when it crosses the split cleanly and cannot sit clear of the opening line.
Cover access panels and removable covers when those panels protect ports, batteries or control boards that staff should keep restricted. Staff need to see quickly if someone has opened that panel between checks or repairs.
If the sticker does not interrupt the opening path, move it.
Where the wrong label or the wrong placement creates repeat checks, it usually costs more to fix later. Speak to our team about matching the label to the access point before you order at scale.
Where should tamper proof stickers not be placed?
Poor placement often looks fine until someone checks the device later. That is the problem. A sticker can stay visible and still tell staff almost nothing.
Keep tamper proof stickers off flat cosmetic areas that sit away from the access point. A sticker on a flat cosmetic surface can still appear secure after someone opens the housing somewhere else. Staff can still see the label, but it tells them very little.
Avoid positions where someone can still remove a cover, undo a screw or open the housing without disturbing the label. That mistake shows up often on devices.
Skip dirty, greasy or heavily textured surfaces unless you know the label will bond properly. Poor adhesion weakens the evidence and can make the sticker fail before anyone opens the device.
Avoid areas where normal handling rubs or catches the edge every day. Once that edge lifts, staff can no longer trust what the label is telling them.
Bad placement wastes time later. A sticker in the wrong place can leave IT staff, repair centres or maintenance personnel trying to work out whether the label failed on the surface or someone actually opened the device.
How do device surfaces affect sticker placement?
Surface condition affects performance as much as placement. Smooth housings usually give the cleanest application. Clean, dry painted metal casings, powder-coated covers and plastic panels often hold labels well.
Textured, dusty or uneven surfaces cause problems quickly. The edge usually lifts first. Once it lifts, the sticker stops giving you clear evidence. Curved areas create the same problem when the label bridges too much contour and loses full contact with the housing.
Before applying tamper proof stickers, inspect the surface first. Dirt, cleaning residue or moisture can all reduce adhesion. If the sticker does not bond properly at the point of access, the label may stop telling you anything useful. That can leave staff rechecking the same device later just to work out whether the label failed or the housing was actually opened.
Residue and non-residue labels in device placement
Non-residue security labels suit devices where the sticker needs to show a clear VOID message without leaving residue on the surface. Use them on housings and panels when the finish still matters after removal.
Residue transfer security labels make more sense when the housing itself needs to carry the tamper message once someone lifts the label. Use them on access points when that visible trace matters more than a clean finish.
Start with the result you need after removal. The wrong label type can leave the wrong evidence on the wrong surface and make later checks harder to trust.
How does sticker size affect device coverage?
Sticker size should match the opening point.
Use a small label on a single screw or a narrow seam. That approach usually works best on small access points. Use a larger label on a wider panel or a longer casing join when you need more obvious evidence of entry.
Do not choose a size based only on visibility. Choose it based on what the label needs to interrupt. A sticker that is too small may leave part of the access path exposed. A sticker that is too large may wrinkle or bridge awkwardly across an uneven surface. A label that sits badly over a contour or recess often creates a weak point at the edge.
Good sizing helps the label stay readable, stay bonded and then fail in a way staff can read clearly. It also reduces the risk of leaving the opening path partly exposed or creating fresh doubt during the next inspection. One badly sized label can turn a quick visual review into a longer device check.
Numbered tamper proof stickers for device traceability
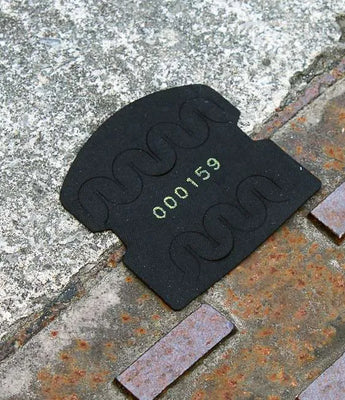
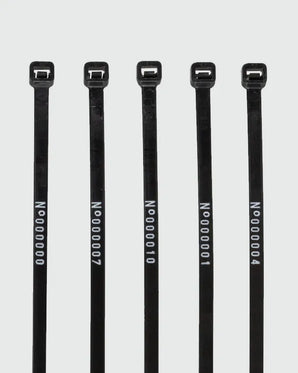
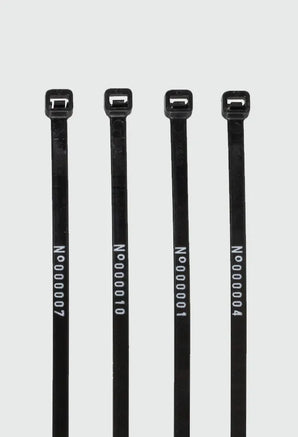
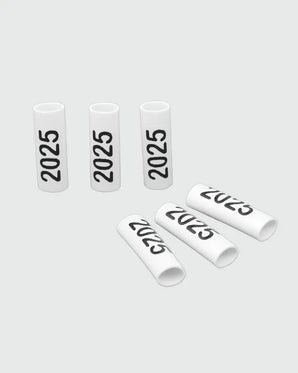
Sequential numbering links the physical label on the device to a service record or inspection log. That gives staff a clear reference in the record, not only a sticker on the housing.
This matters most when several similar devices move through the same bench, desk or asset pool. IT managers can confirm which laptop or terminal someone opened. Repair centres can show which cover or casing they sealed before the unit left the bench. Facilities managers can review similar devices faster when several units sit in the same room or in the same store.
If someone removes a numbered label and replaces it with an unrecorded sticker, the mismatch becomes easier to spot. Without that reference, it becomes harder to trace which housing or cover someone actually disturbed. That is where customisation and stock numbering start to pay off.
What should you check before applying tamper proof stickers to devices?
Start with the device itself.
Review:
- Where the device opens
- Which surface the label will bond to
- Which size best covers the access point
- Which label type gives the right evidence on removal
- How staff will review the sticker during routine checks
Then test the label on the actual housing before you roll it out across the device group. A label that works on paper may fail on a real device with curved plastic, a recessed screw or a textured cover.
That short review can stop a common mistake: staff apply a good label to the wrong point, the wrong surface or the wrong size. Fixing that later usually takes longer than getting the placement right first time, and staff may then need to relabel the device or repeat the inspection.
How should buyers choose the right tamper proof stickers for device security?
Start with the access point, not the label catalogue. Once you know how the device opens, you can choose the sticker type, size and numbering option that fit the job properly. That is the difference between labels that help you control access and labels that just sit on the casing.
When you choose tamper proof stickers, start with the device surface, the opening path and the kind of evidence you want the label to leave behind. Buyers using device security stickers on electronics housings and service panels should make that decision before they order at scale.
At JW Products, we supply stock numbered and custom labels for buyers who need a sticker that fits the access point and supports the record linked to the device. We help buyers match the label format to the screw, seam, access panel or cover they need to secure. Buyers who need help choosing the right label format can request a quote before ordering at scale.